Official Website of the Commonwealth of Pennsylvania
Purpose: Use this guide to create a business profile for your new or existing business in the Business One-Stop Shop Hub. NOTE: This does NOT officially register or update your business with the Department of State.
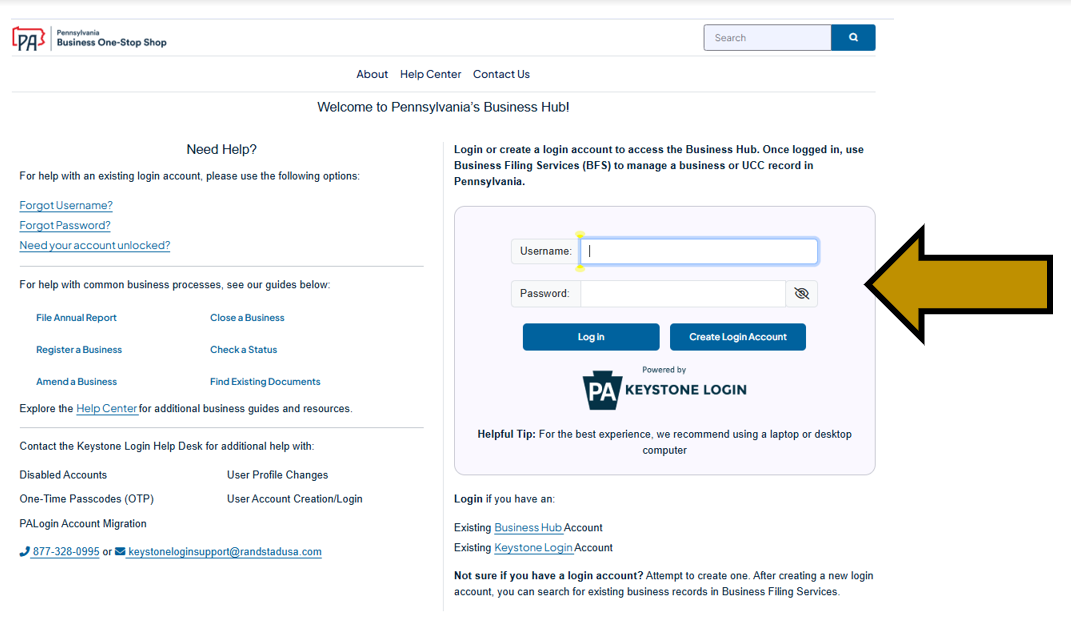
Step 1: Go to Business One-Stop Shop Hub Login. Enter your username and password in the appropriate form fields. Click the Log In button. New users should click the Create Login Account button. For additional assistance with creating a new login account in the Hub, refer to the Create a Login Account in the Hub help guide. NOTE: The Business Hub uses Keystone Login to manage user login accounts. If you have an existing Keystone Login from any Commonwealth system associated with your email address, use your existing information to log in.
Step 2: Scroll down and under My Business(es) click the Add Business Profile button.

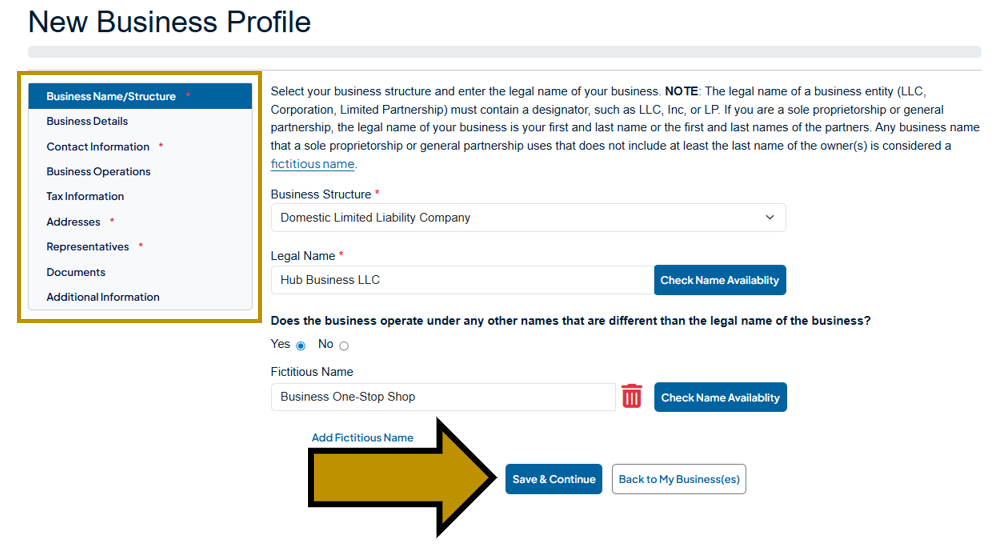
Step 3: Select your business structure and enter your legal name. If you operate under any other business names, click Yes and add them. You can add multiple fictitious names. NOTE: If your business is not yet registered you can click Check Name Availability to determine if the name is available for use in PA. After providing the requested information, click the Save & Continue button at the bottom of the screen to progress through each section displayed on the left.
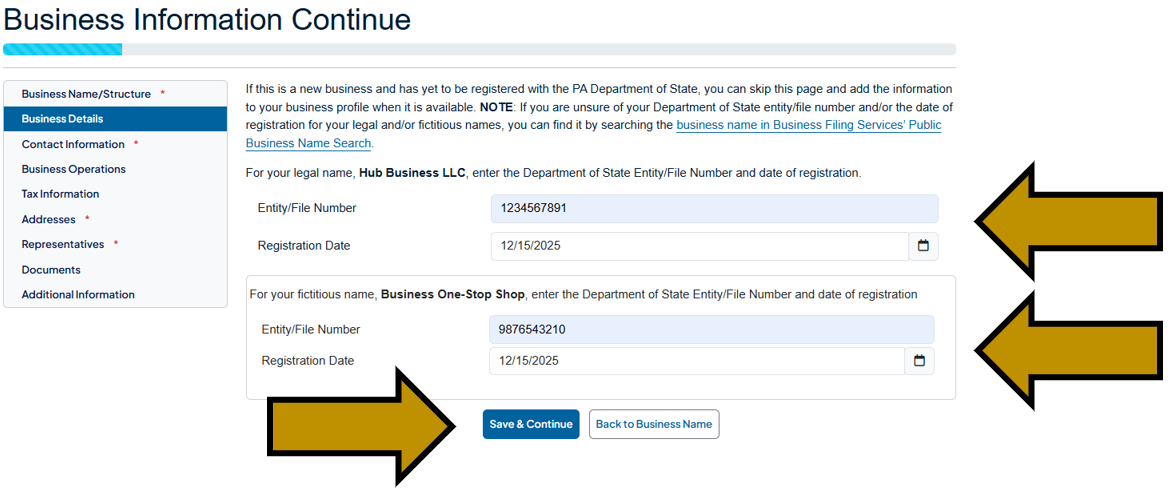
Step 4: Existing businesses can enter theDepartment of State Entity/File number and Registration Date for their legal business name as well as any additional fictitious names under which they operate. If you don't have the requested information, you can find it by searching the business legal/fictitious name in Business Filing Services’ public business name search. NOTE: New businesses that have not yet registered can skip this screen and provide the information after their business profile is created and the business is regsitered. Click the Save & Continue button.
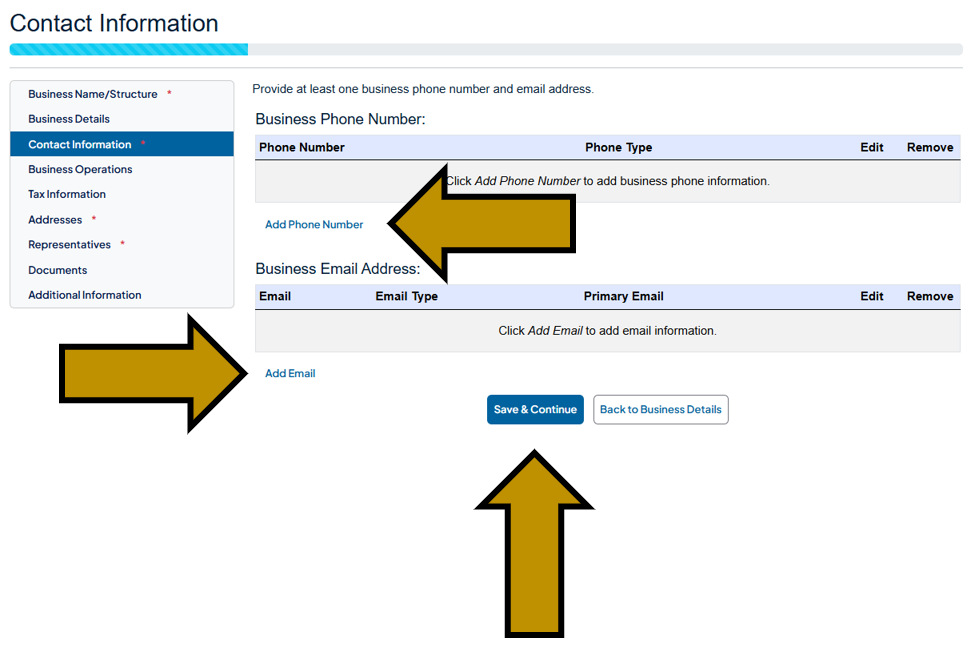
Step 5: Click the Add Phone Number link to add a phone contact. Click the Add Email contact to add an email contact. You can add mulitple phone numbers and emails. When you are finished, click the Save & Continue button.
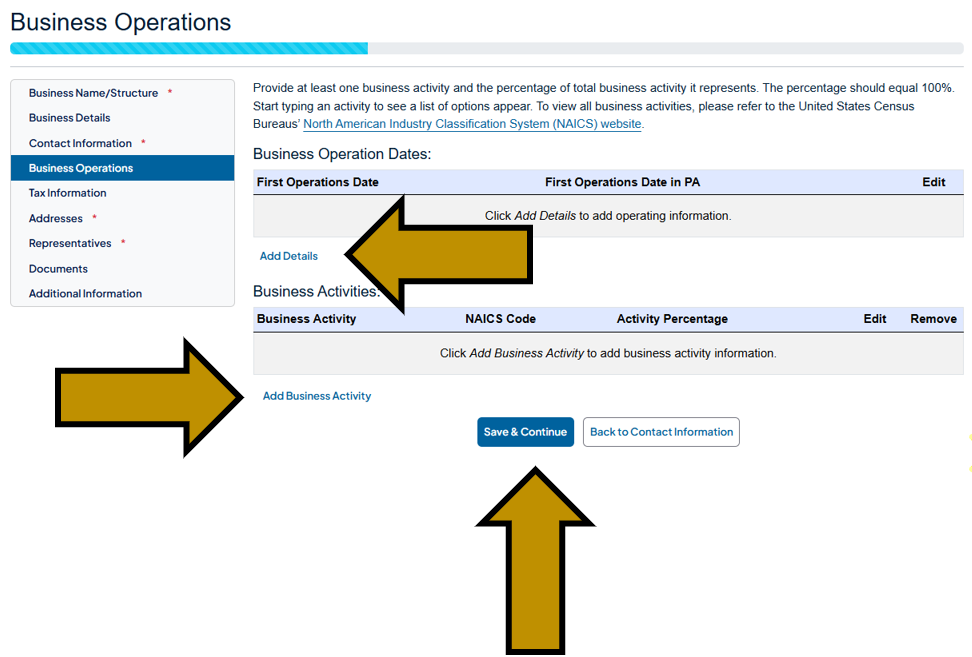
Step 6: Click the Add Details link to add business operation information. Click the Add Business Activity button to add business activity information. Then, click the Save & Continue button.
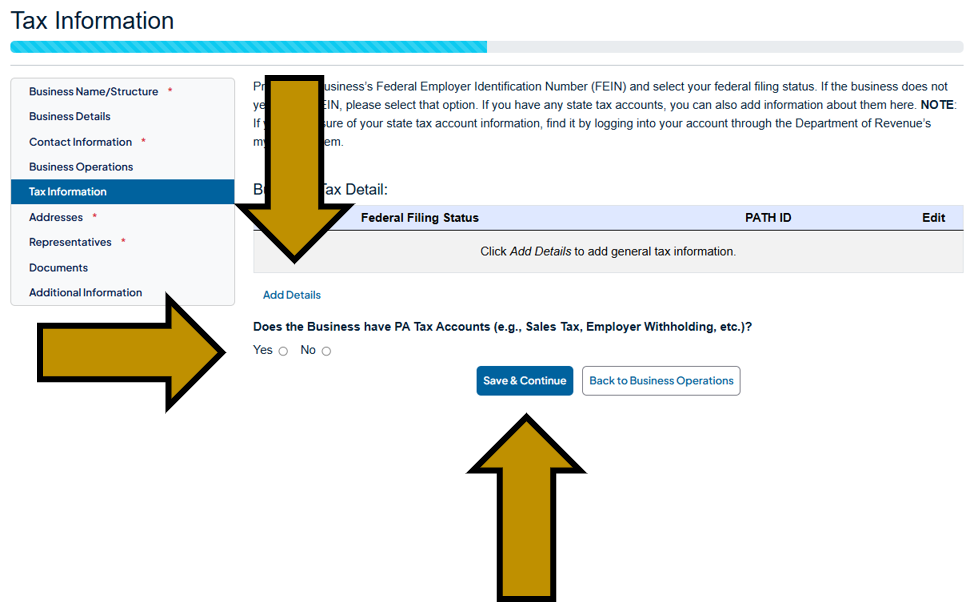
Step 7: Click the Add Details link to add business tax information. Select Yes if the business has any state business tax accounts. Then, click the Save & Continue button.
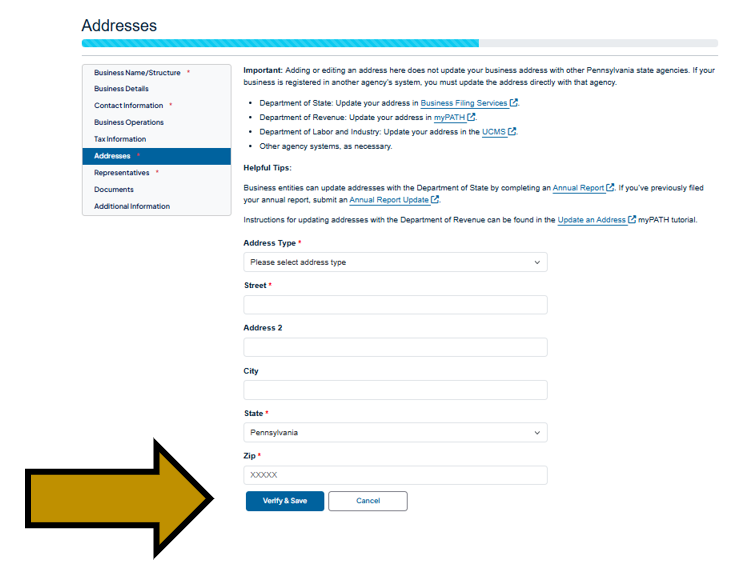
Step 8: Enter your address information and click the Verify & Save button. You may be prompted to verify the address against USPS records. From here, you can add additional addresses or click the Save & Continue button to proceed.
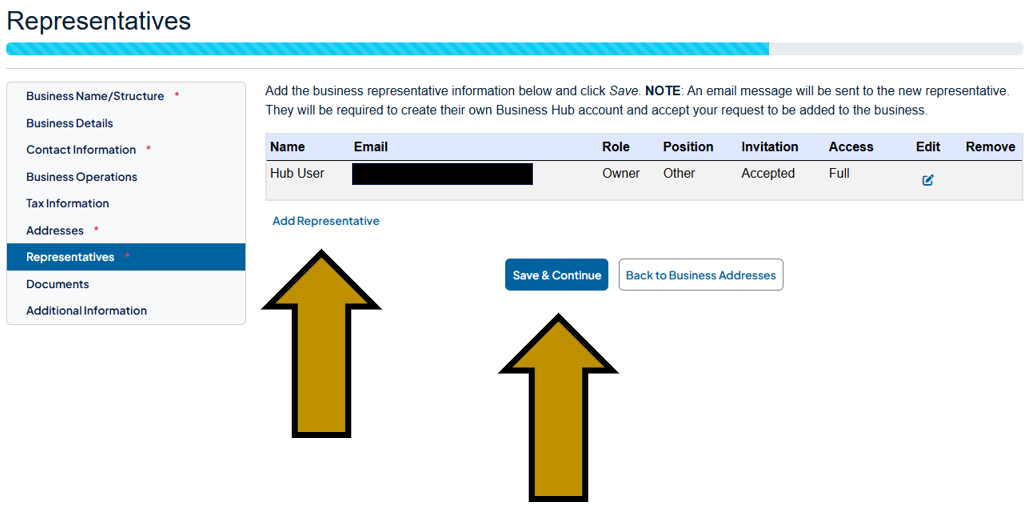
Step 9: You will be automatically added as a representative for the business under your current role (owner, practitioner, business associate). If there are other representatives you can add them by clicking the Add Representative link. A notifiaction will be sent to the representative and they will have to create their own login account to accept the request. If there are no other representatives to add, click the Save & Continue button. NOTE: You have the option to add additional representatives later from the business profile.
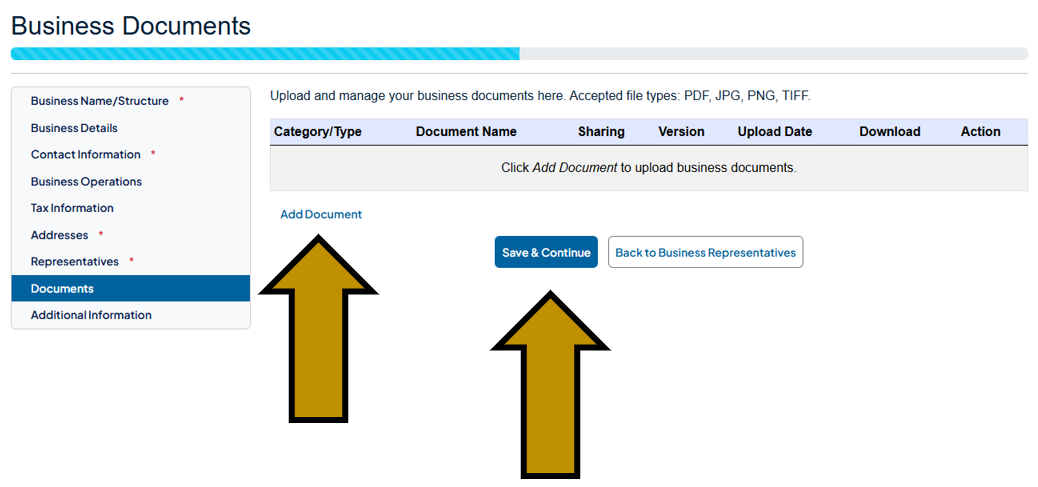
Step 10: If you have business documents you would like to save to your business profile, click the Add Document link to upload them. Then, click the Save & Continue button.
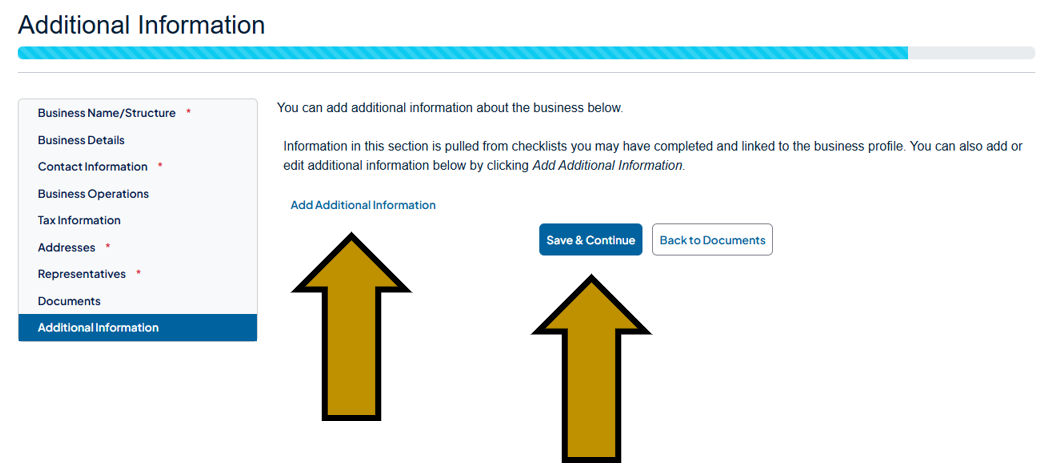
Step 11: Click the Add Additional Information link to provide a few remaining pieces of information. Then, click the Save & Continue button.
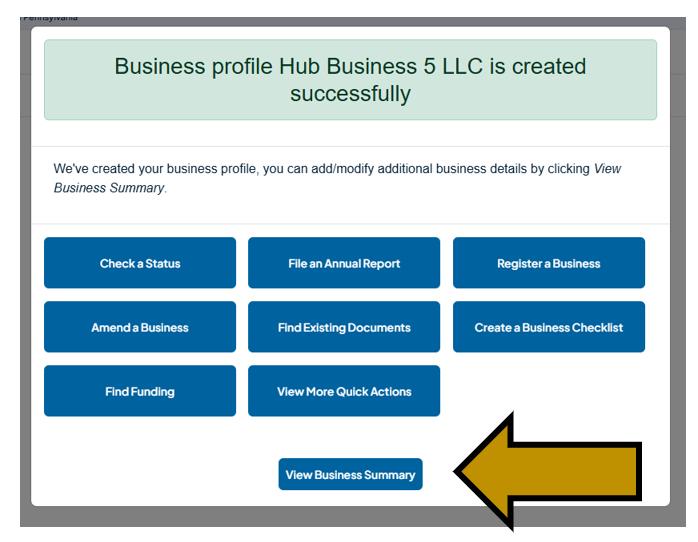
Step 12: Your business profile is now created! Click the View Business Summary button to view the business profile.
Step 13: If you have multiple business profiles you can select them from the Business Profile dropdown menu. You can quickly navigate the business profile screen using the grey menu bar. Edit or remove information by using the Edit and Remove buttons on the right side of each table.

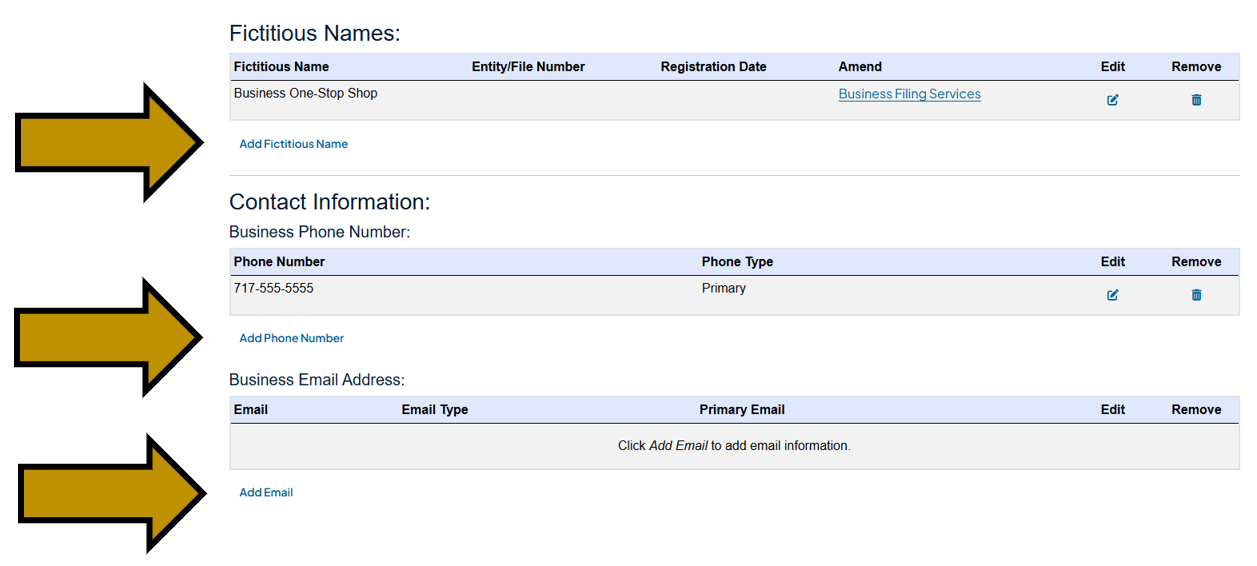
Step 14: You can add additional information by using the Add links in each section of the Business Profile.
Revised 5/18/2026
